
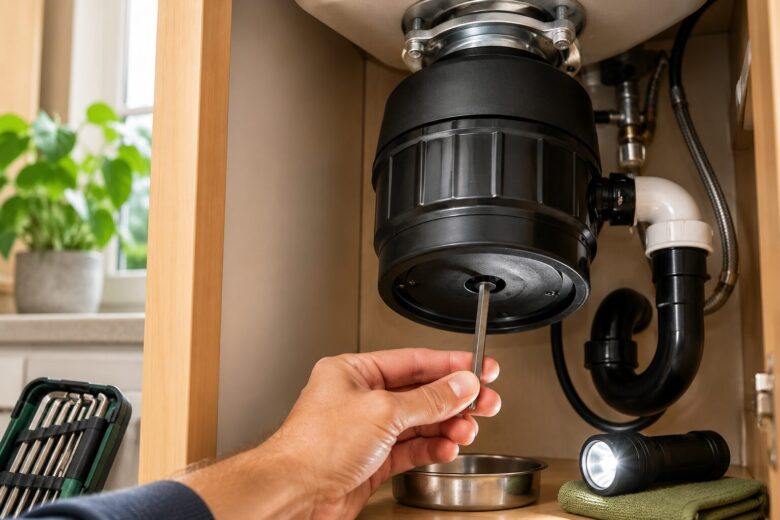
You are standing in your kitchen, flip the switch for your garbage disposal, and instead of the usual loud grinding noise, all you hear is a low, dull humming sound. The motor is clearly trying to spin, but something is completely blocking it.
For renters and new homeowners alike, that specific humming noise usually causes a bit of a panic. Calling an emergency local professional around here to fix a minor issue like this will easily run you at least $150 just for the initial service call fee.
Fortunately, in about 90% of cases, the unit is not actually broken; it has simply shut down or locked up for safety. Discover below exactly how to fix a jammed garbage disposal without a plumber, resolving the entire issue by yourself in under 5 minutes.
Disclaimer: As an Amazon Associate, FixByMyself earns from qualifying purchases made through links in this post at no additional cost to you.
What Tools You Will Need for the Quick Fix
To handle this quick DIY maintenance project underneath your kitchen counter, you do not need an expensive toolset or specialized plumbing gear. In fact, you only need two basic items.
The first is a reliable flashlight to give you solid visibility inside the dark cabinet space. The second is a standard hex wrench (widely known as an Allen wrench or hex key), typically in the 1/4-inch size.
Oftentimes, this small silver key comes included or taped near the manual when the appliance is installed, but keeping a full set handy in your drawer is an excellent habit for anyone looking to manage their household budget and repairs independently.
Step-by-Step Guide to Unjamming Your Disposal
Follow these straightforward, safe steps to release the motor shaft and get your kitchen sink draining smoothly again in no time.
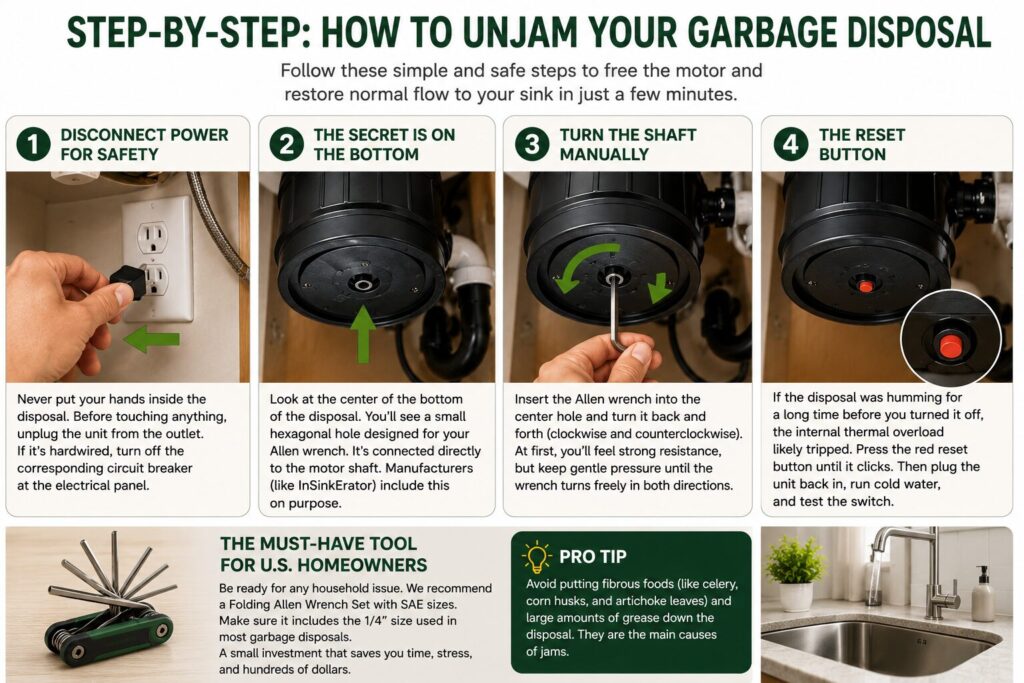
1. Disconnect the power first
Never, under any circumstances, place your hands inside the disposal collar. Before touching any mechanical or moving parts, reach underneath the sink and unplug the unit from the wall outlet. If it is hardwired, flip the corresponding breaker off at the main electrical panel.
2. The secret is at the bottom
Grab your flashlight and slide under the sink. Look directly at the very center of the bottom base of the garbage disposal unit. You will find a small, recessed hexagonal hole designed specifically to fit your Allen wrench.
This socket connects straight to the internal motor shaft. Manufacturers (like InSinkErator) put this access point there on purpose, knowing that hard food scraps, bones, or small stray objects can jam the impellers from time to time.
3. Manually crank the motor shaft
Insert your hex key into the center bottom hole. Firmly crank the wrench back and forth in both clockwise and counterclockwise directions. You will feel heavy resistance at first, but wiggle it gently until the wrench spins freely 360 degrees.
4. Hit the Reset Button
If the unit was humming for a while before you flipped the switch off, the built-in thermal overload protector likely tripped to keep the motor from burning out.
While still looking underneath the unit, locate a small red button (the Reset Button). If it has popped out, press it back in until you hear a sharp click. Plug the appliance back in, turn on the cold water faucet, and test your wall switch.
🛒 The Must-Have Tool for Every US Homeowner
Fixing minor household emergencies without relying on your landlord or expensive dispatch technicians requires having the exact tool on hand the moment things go wrong. Waiting days for an appointment just to get your kitchen sink running is never an efficient plan.
To make sure you are never left scrambling for the right tool, we highly recommend keeping a Heavy-Duty Folding Hex Key and Allen Wrench Set on Amazon in your kitchen drawer. This specific compact set keeps all sizes organized together so you never lose them, and features the exact 1/4-inch drive required to turn jammed disposal motors.
Investing a few dollars in a reliable, standalone wrench set is the smartest preventative measure you can take today to build complete maintenance independence, avoiding surprise multi-hundred-dollar plumbing bills down the road.
The Opportunity Cost: Protecting Your Wealth
By following these simple steps, you successfully solved the kitchen emergency and saved yourself at least $150 that would have gone down the drain on professional labor fees. At the end of the day, managing a home properly is deeply tied to protecting your financial wealth.
The same diligence and care you apply to preventative home maintenance, avoiding unexpected landlord disputes or emergency repair bills, is what defines long-term financial success. Stopping the small daily cash leaks is just the first step.
The second — and most crucial — step is ensuring that the savings you accumulate with so much hard work stay fully shielded against larger unexpected emergencies, lawsuits, or heavy US tax rules. To understand how to apply this strategic preservation mindset to protect your family’s future, explore the wealth preservation planning resources at the portal of licensed consultant Leandro Santiago.