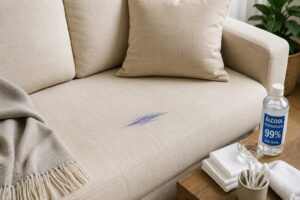
Whether it is your car’s upholstery, a favorite leather jacket, or that special living room sofa, leather is a premium material that brings elegance and comfort to any space. However, over time, sun exposure and a lack of proper conditioning take their toll, turning that original rich shine into a dull, dry, and cracked surface.
When those first deep lines appear, many people assume the only solution is to pay for expensive professional reupholstery or throw the item away. What few realize is that leather is an incredibly resilient material and is perfectly fixable without breaking the bank on professional restoration services.
Learning how to handle preventative and corrective maintenance on your own furniture and accessories is the ultimate secret to saving money while keeping your home looking sharp. In this practical guide, you will master the complete process of leather crack repair: how to fill fissures and restore original color at home with a seamless, professional finish.
Why Does Leather Crack and How to Assess the Damage?
Genuine leather and high-quality synthetic alternatives contain natural oils within their fibers that keep them supple and flexible. When the material is exposed to heat, direct sunlight, or dry air for extended periods, these oils evaporate. This causes the fibers to stiffen and eventually split under the pressure of daily use.
Before jumping into any repair, you need to clean the area thoroughly to evaluate how severe the damage is. Superficial fissures look like fine lines and slightly change the texture of the surface. On the other hand, deep cracks expose the inner fibers and will often start peeling if you press down on them.
No matter how worn out the material looks, proper surface preparation is the most critical step of the project. Completely removing body oils, dust, and old product residue ensures that your restoration materials bond permanently to the leather.
Step-by-Step Guide to Filling Fissures and Restoring Worn Leather
Restoring leather at home takes a bit of patience and the right supplies, but the final transformation makes every single minute worth the effort. Follow these steps to bring your upholstery back to life:
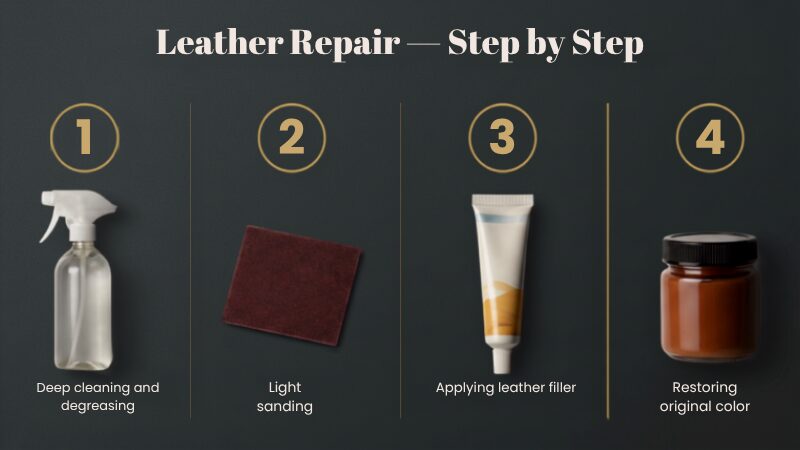
1. Deep Cleaning and Prep
Start by cleaning the area using a mild, pH-neutral leather cleaner and a soft-bristled brush. Next, wipe the surface down with a microfiber cloth lightly dampened with isopropyl alcohol to strip away any remaining body oils or grease. Let it air dry completely.
2. Light Sanding
Use a very fine sandpaper (400 to 600 grit) to gently smooth down the rough edges of the cracks that are peeling or sticking up. This levels out the surface texture and creates the perfect porosity for the filler to grab onto. Wipe away any dust with a dry cloth.
3. Applying the Leather Filler Paste
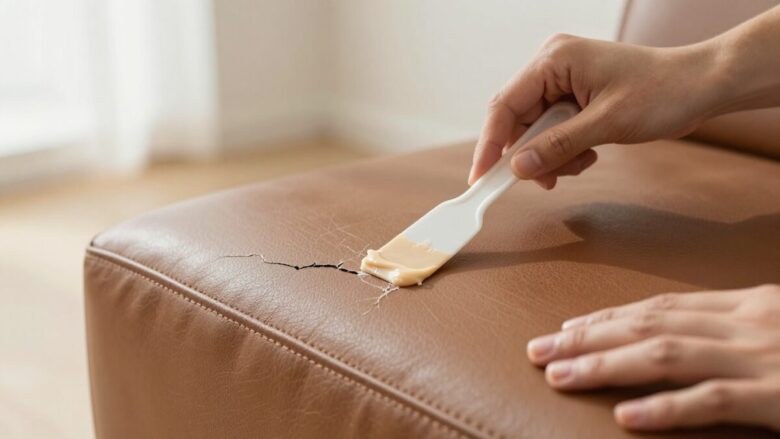
Using a flexible plastic spatula or putty knife, apply thin layers of heavy-duty leather filler paste directly into the cracks. Scrape off the excess so the paste sits perfectly flush with the height of the undamaged leather. Let it dry for about two hours, and if needed, apply a second thin layer to level it completely.
4. Restoring the Original Color
Once the filler is completely dry and lightly sanded for a smooth finish, apply a specialized leather colorant or dye cream that matches your piece exactly. Use a soft sponge to gently dab the color onto the area, blending the new paint naturally into the surrounding leather.
Keeping Your Leather Protected and Supple Long-Term
After you fill the fissures and restore the color, the secret to making this repair last for years is sealing it and keeping it conditioned. Without a protective top coat, sunlight and daily friction will quickly dry out the filler paste and cause it to fail.
Avoid placing your leather furniture directly under harsh sunlight coming through windows without using UV-blocking curtains. Additionally, build the habit of applying a clear leather sealer (in a matte or glossy finish, depending on the original look) to lock in the dye and the repair paste against sweat and accidental spills.
Post-repair maintenance is incredibly straightforward. Once every three months, apply a dedicated leather conditioner to keep the fibers nourished and elastic, stopping new stress lines from forming in the material.
🛒 The Essential Combo for a Flawless Restoration
While the technical steps are simple, the quality of your final results depends heavily on the tools you use. Using regular cotton rags can leave lint trapped in your wet colorant, ruining the smooth texture of your hard work.
We have tested different approaches and highly recommend using a Leather Care Kit. These dense applicator sponges ensure that the dye is distributed evenly without leaving any brush strokes, and they help buff the final leather conditioner smoothly into the surface.
Making this small investment in proper applicators ensures that your repair work remains invisible to the eye, giving your sofa or car seats a factory-renewed look that protects the value of your furniture for years to come.
Enjoying a Renewed Piece Without the High Costs
Seeing a damaged, worn-out leather surface transform into a piece that looks fresh out of the showroom brings immense satisfaction. This type of hands-on project is the perfect example of how simple home maintenance techniques can save substantial amounts of money in your household budget.
Consistency in care and using the right steps will keep your leather soft, beautiful, and comfortable for the long haul.
Grab your materials this weekend and test the technique on a small, hidden spot first to build up your confidence. In no time, you will proudly show off your fully restored leather pieces that are ready to stand the test of time.